How To: Mortar Wash (German Smear) a Brick Fireplace (Updated May 2016)
/* *Update - May 2016
Some of you may have been watching Fixer Upper lately - you'll notice that sweet ol' Joanna Gaines has used this EXACT method in some of the houses that they've been renovating down in Waco. She calls it "German Smear" and has been using it to change the looks of many homes this season. You're welcome Jojo!
Want to see the outside of our home? We just finished applying this same technique - read about it and see pictures here!
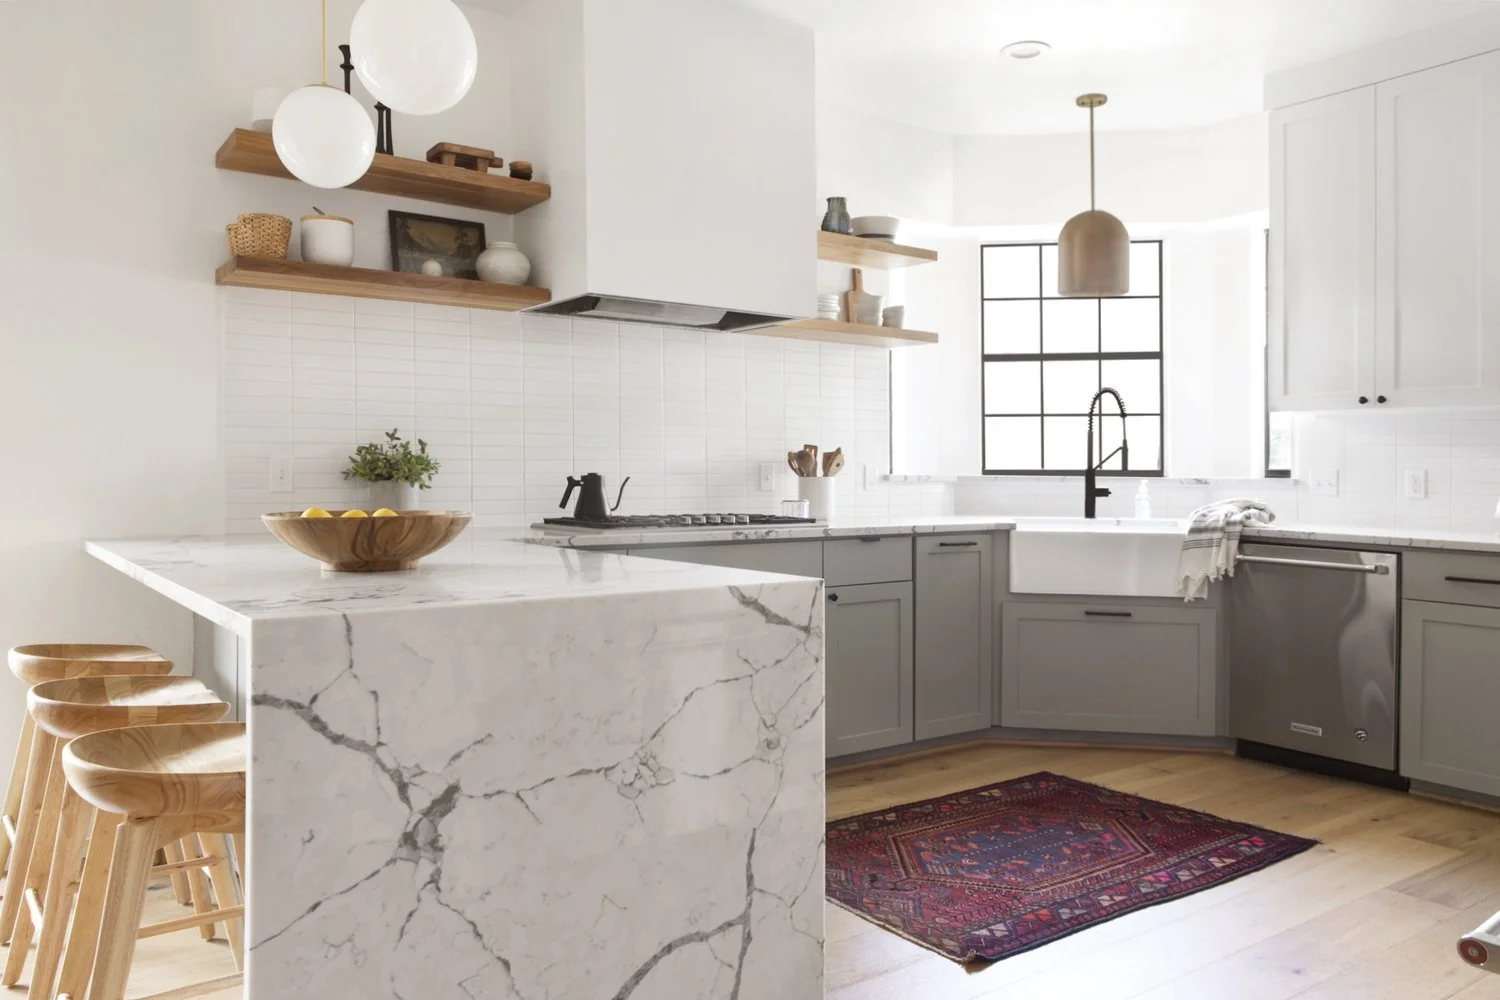
ne of the first things I knew I wanted to do when we purchased our home was to white-wash the brick. I wasn't sure what method I wanted to do specifically but I knew how I wanted it to look. I searched Pinterest high and low to find a look that I really liked. I couldn't find anything close. Not to mention I couldn't find an example of what someone else did to copy or to change up. So I completely winged it. I knew that I wanted the fireplace to resemble this home:

Photo Via Pinterest
So I knew I had to enlist the help of some mortar. This was super easy to find. I knew I wanted a white mortar. I sent KB off to Home Depot to find a bag of plain white mortar. I didn't prep the brick - but I could have. (If your fireplace brick is dirty or in need of cleaning - do that before mortaring. It can help it to adhere to the original mortar/brick more effectively) I mixed up my mortar and water (I would say a tablespoon of water for every cup of mortar - see consistency below) and grabbed a sponge to apply with. The one I used was the same kind I use to grout tile - I like these because they are big and I can grip them best - and they can apply a lot at a time.

You want the consistency to be thin enough that its able to spread but not too thin that it is runny. You should be able to mix it up with a spoon and it not clump. Once you've got the consistency required, use the sponge to grab some mortar and smear it onto the bricks. I had to push it onto the bricks and into the cracks to ensure it was covering well. I also wanted it to look "natural" and not all white. I wanted some of the bricks to be less covered than others and I wanted some (specifically the darkest of bricks) to be completely covered. (Some blogs cover all of the bricks completely and leave the entire fireplace pretty white. I don't like that look so I didn't apply the mortar like that.) If you look at the picture below, you'll see that some of the bricks are still visible through the mortar. Once this dries you will be able to wipe it off easily with a wet rag and see the traces of the brick colors behind the glaze of mortar.
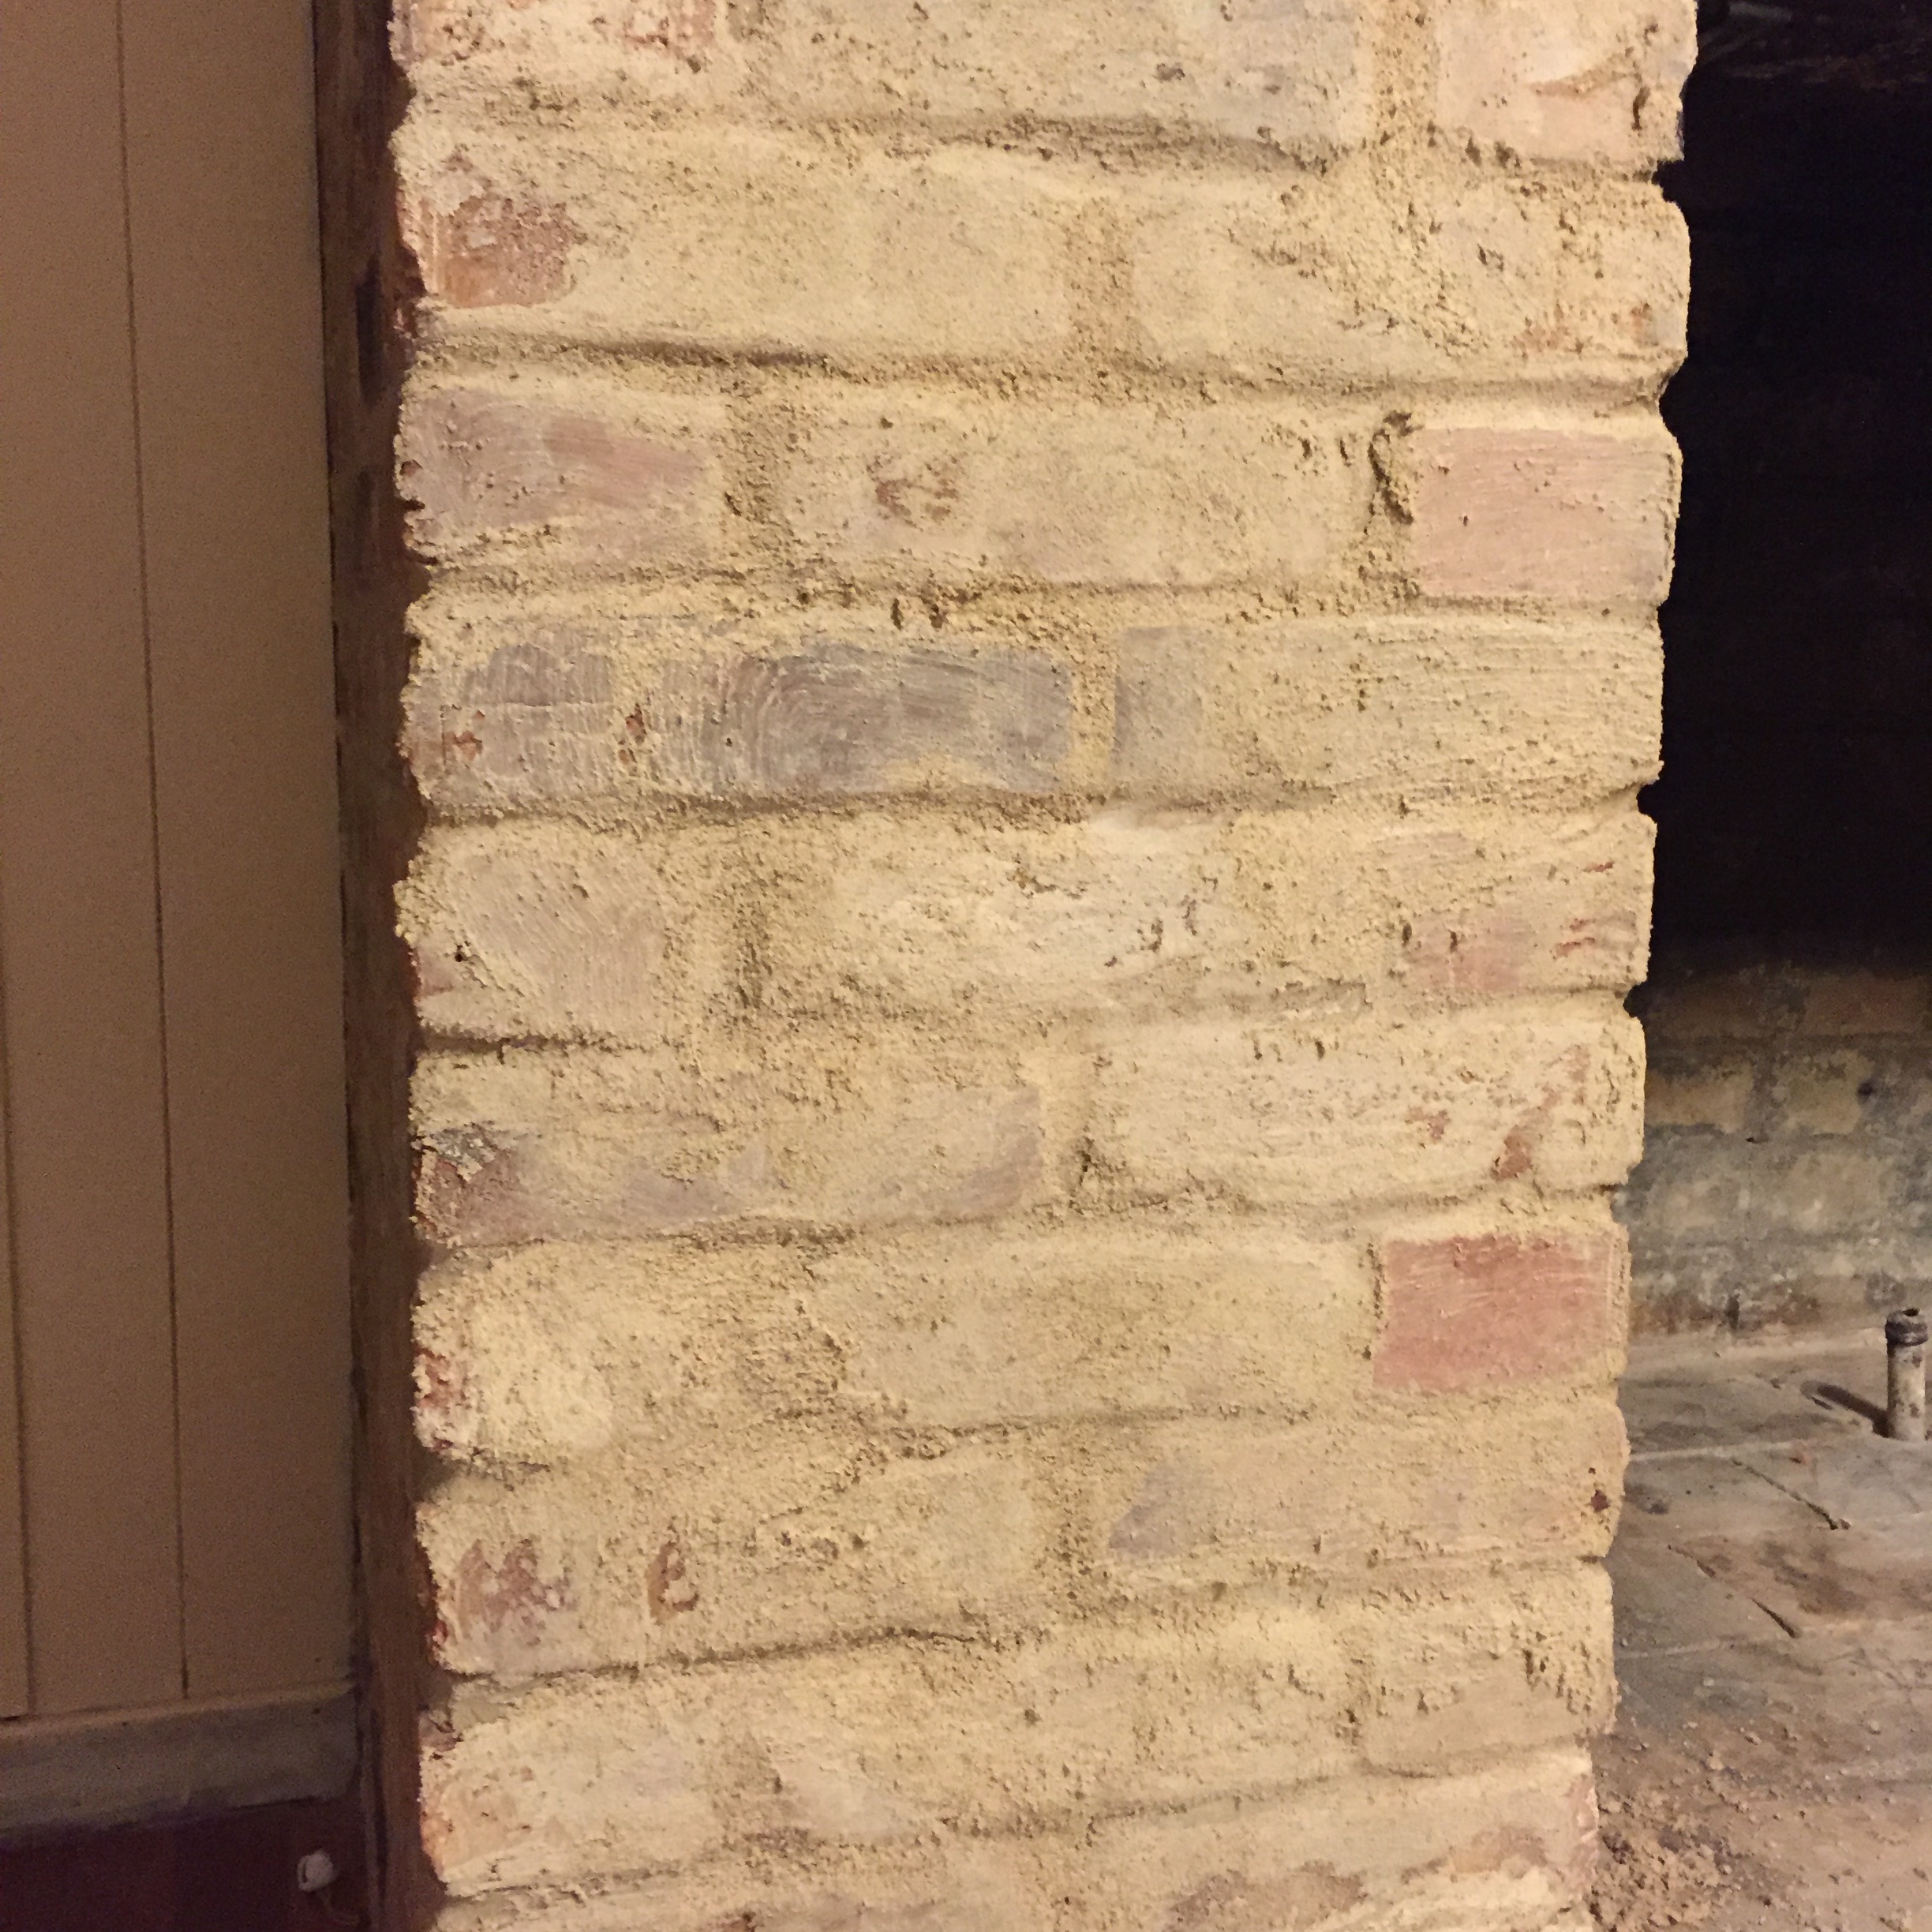
When applied, the mortar looks really brown. I wasn't sure it would dry how I had expected. Thankfully, it did. Keep applying until you've got the coverage you want and the entire fireplace complete.
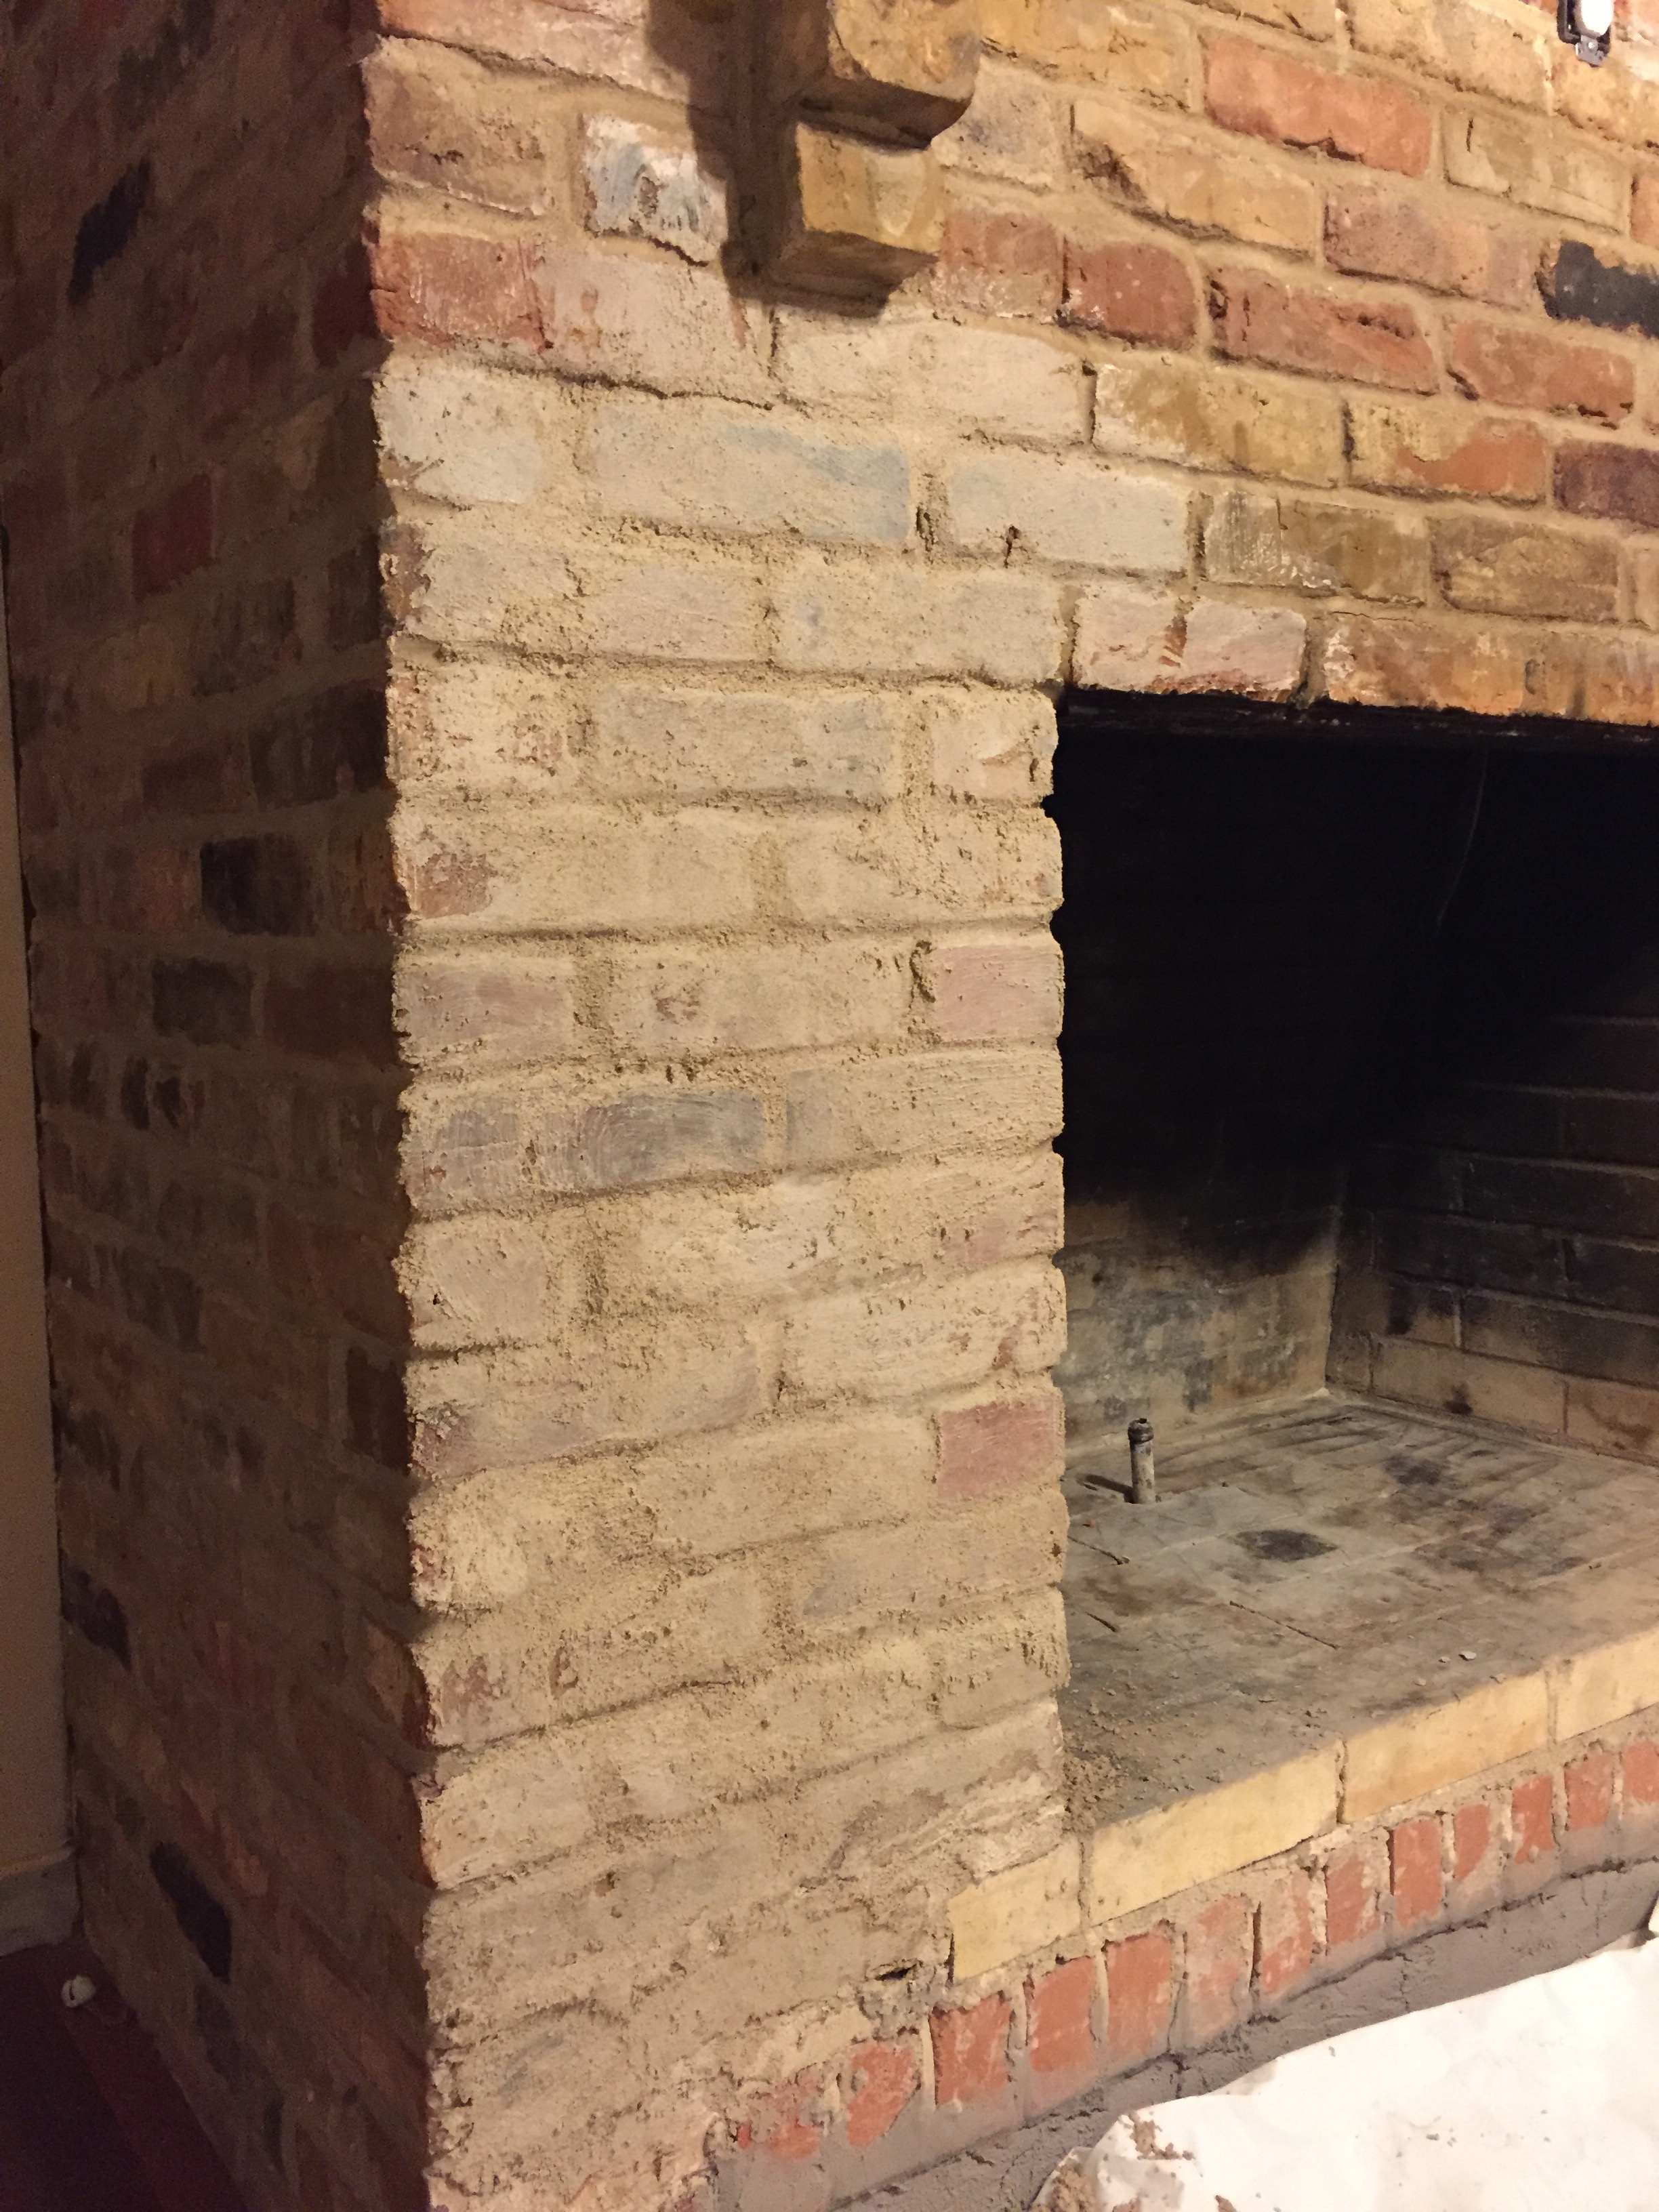


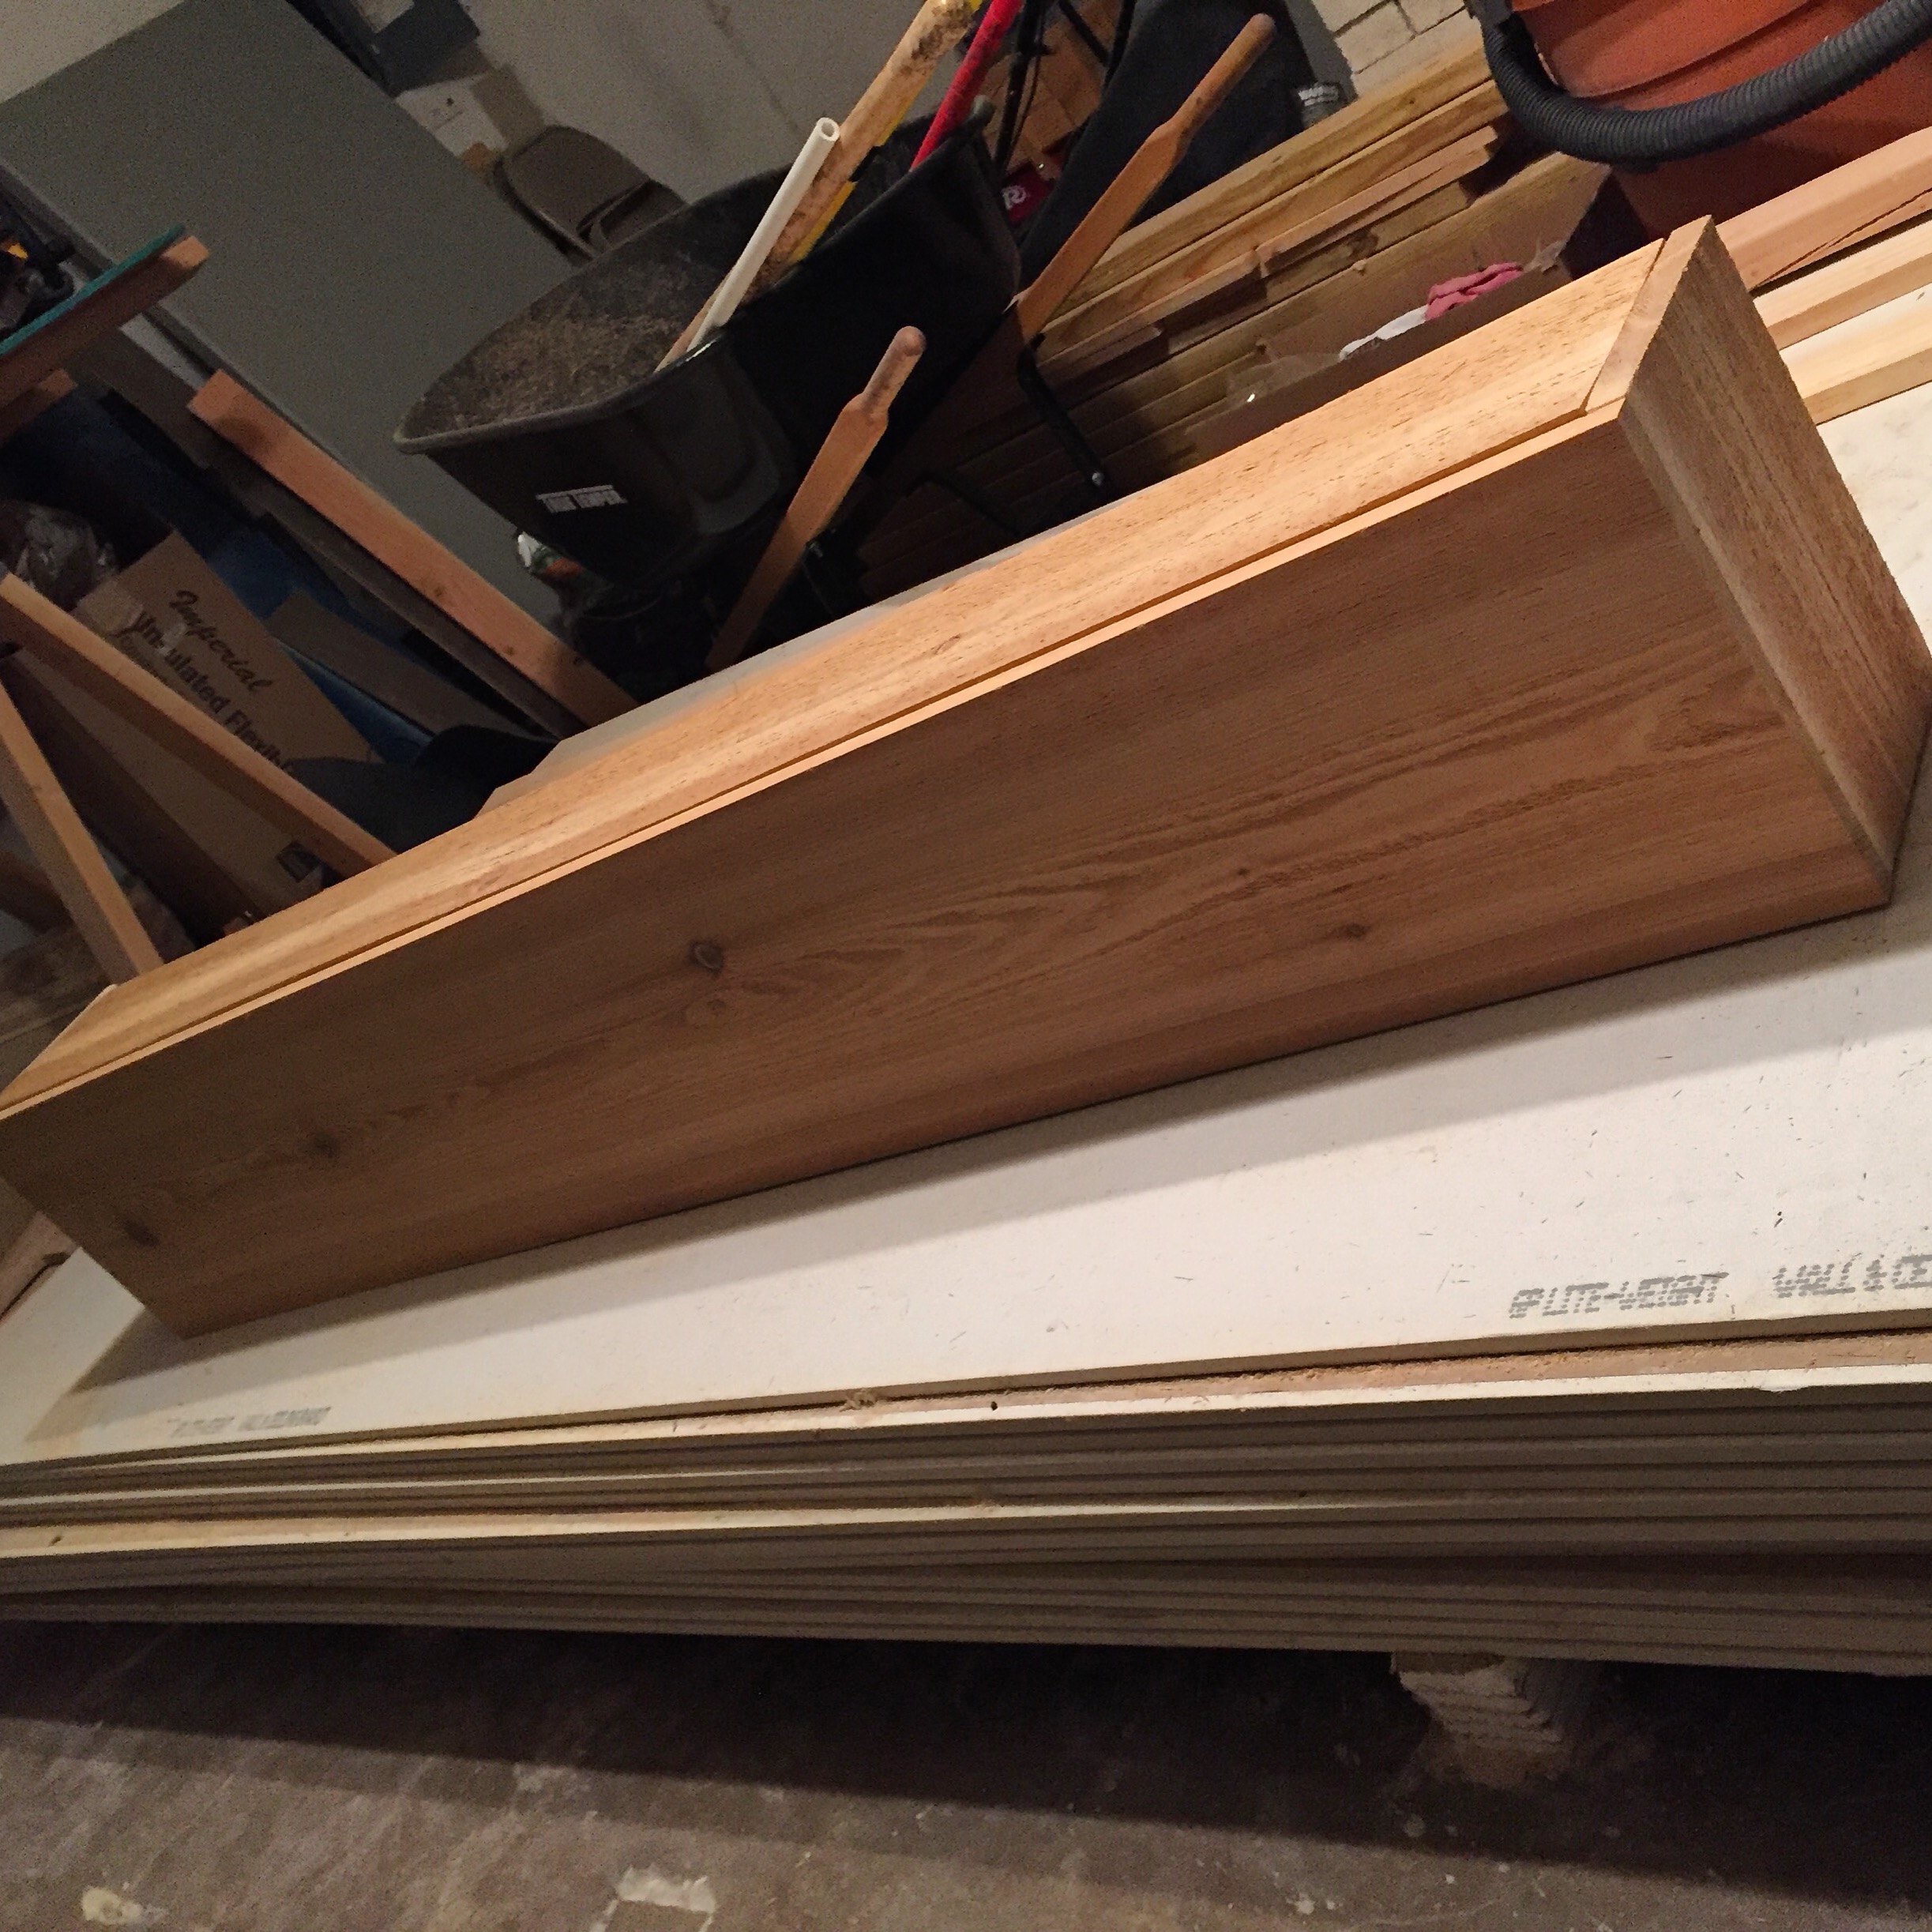
Once you're finished applying, allow the brick to dry a bit. I waited until it was dry to the touch but still cold. I then took a basic sanding block and sanded down some of the rougher edges or the ones that I thought needed to show through more - the ones I did the most sanding to were the red tinted bricks. Again, I wanted my brick to look like the one in the top picture. (or at least as much as my brick could - it's a completely different hue of bricks) After I finished sanding, I allowed it to dry entirely. [KB made this INCREDIBLE cedar mantle to cover the previous mantle trellises that were built into the fireplace] Once it was dry enough, he installed that. One more thing that I'm heart-eye-smiling about in our house.
Once the fireplace was entirely dried (the next evening), I took a damp cloth and just wiped down the bricks. This took off another layer of the white tint from the mortar and give it a cleaner more natural look. It also allowed for it to be touched without leaving a white residue on anything that brushed it.
That's it! Easy face-lift project. Super cheap. SUPER Budget Friendly. I think all in all the project cost me 2 hours and $10 for a bag of mortar. Did you just read that? TEN dollars. I'll leave you with a before and after of the fireplace.
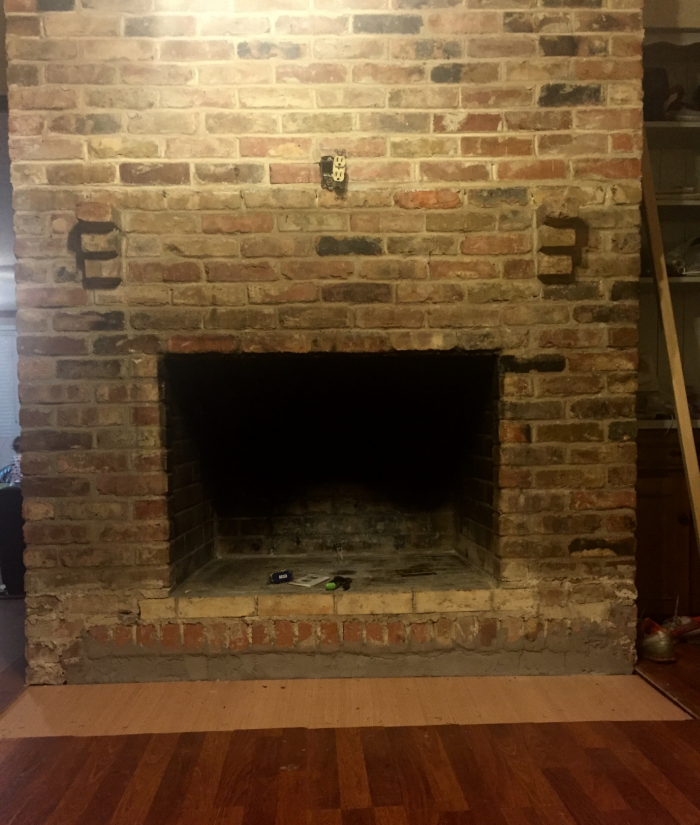
Before

After

I'd love to hear your comments, questions, and MOSTLY your brag pics. Post here or email me at lauren@thechathamcollective.com.

Leftover Christmas Decorations
- Lo