Furniture DIY Tutorial - Dresser Refresh
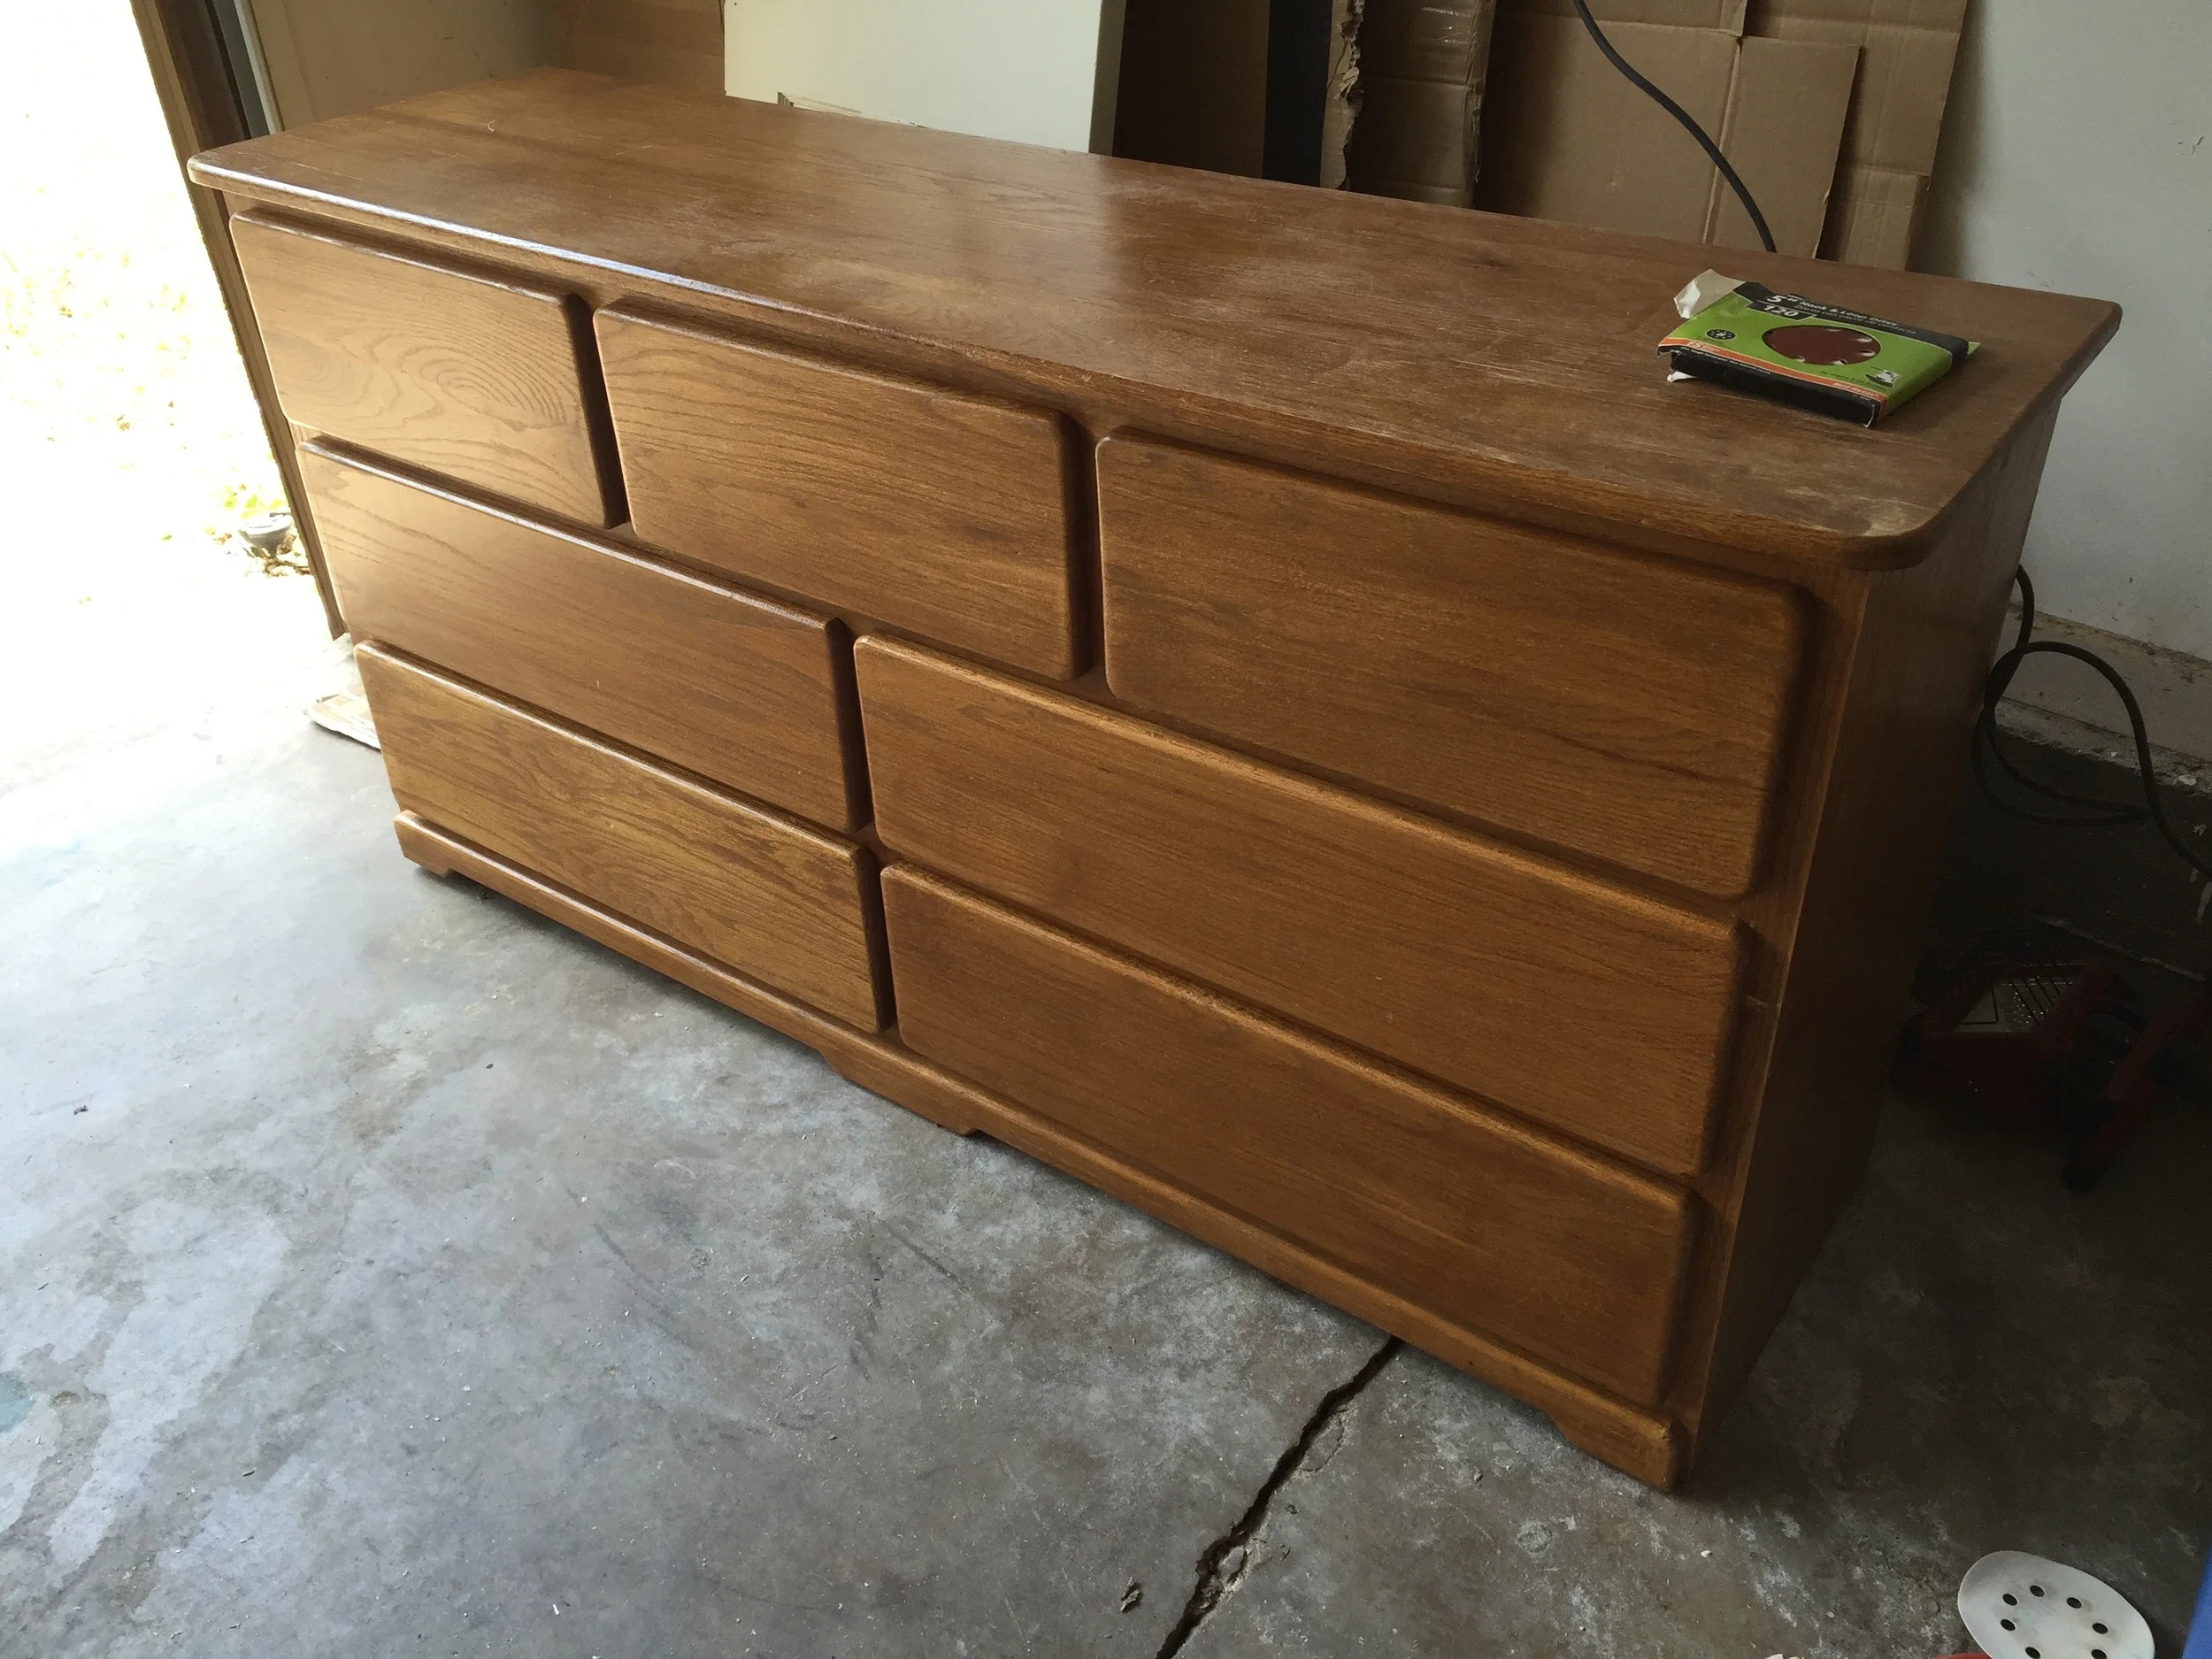
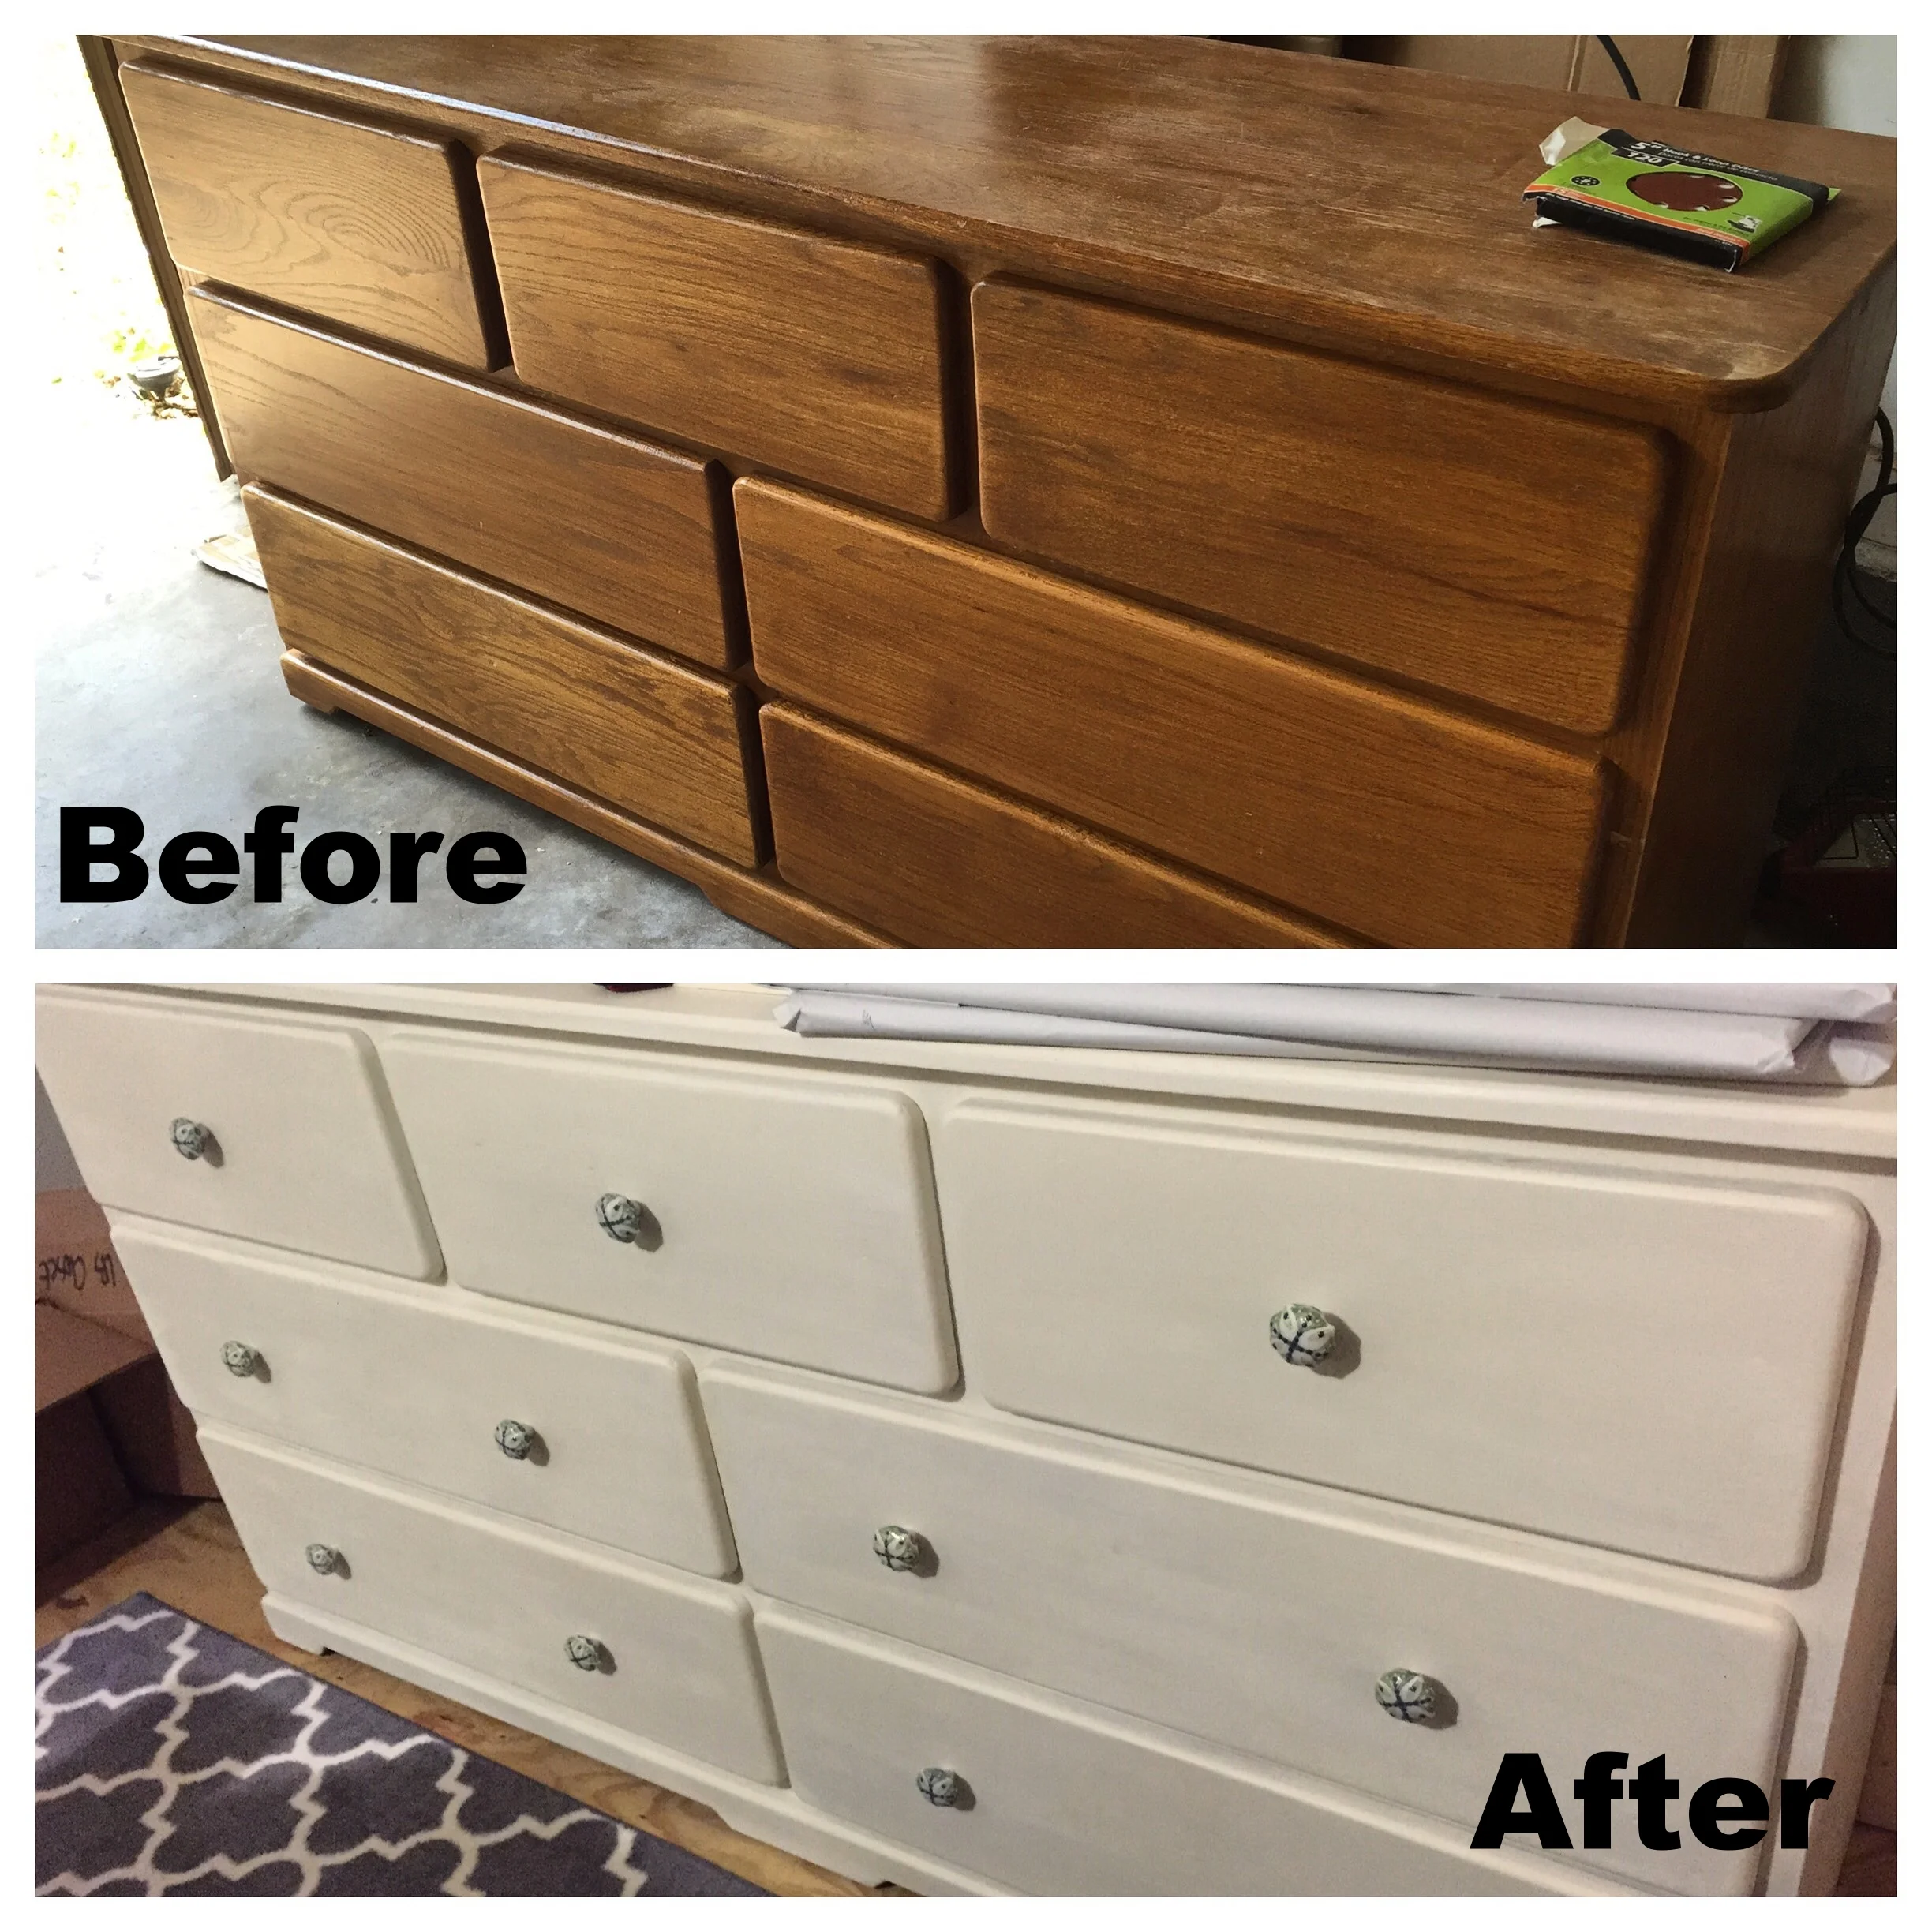
/We were in desperate need of a dresser when we bought our house. I wanted something that matched our bed set but we didn't have time to make something. KB was working hard on our deadline (which has since passed!) so I searched Craigslist to find something that I could refresh and customize to fit our style. We have a king size Farmhouse Bed and matching night stands. I added these super cute knobs from Anthropologie that really make the nightstands. I wanted a plain, wood, 6 drawer (minimum) dresser. Finally, I found this baby for $80 dollars.
A few notes - I chose a piece that would work well with what we already had. Feel free to mix it up if you like things that aren't all exactly the same. Colors and shapes can make a room look and feel completely different. Play with some of your pieces until you feel it looks just right.
I love Annie Sloan Chalk Paint. I love the color options, the matte finish, and the texture. I, however, never use it to distress or paint over pieces. I use it as a foundation paint and I use a clear wax (more on that later) to seal it. If you're buying a piece you'd like to refresh and distress - your refresh steps will be a little different than these.
I started by sanding this dresser. With Chalk Paint, you DO NOT have to sand. I prefer it, though. I like the smooth and clean look of wood that doesn't have varnish on it. I think it tends to look more "original" than refreshed. It definitely gives it that clean "Cape Cod" look that I'm always going for.
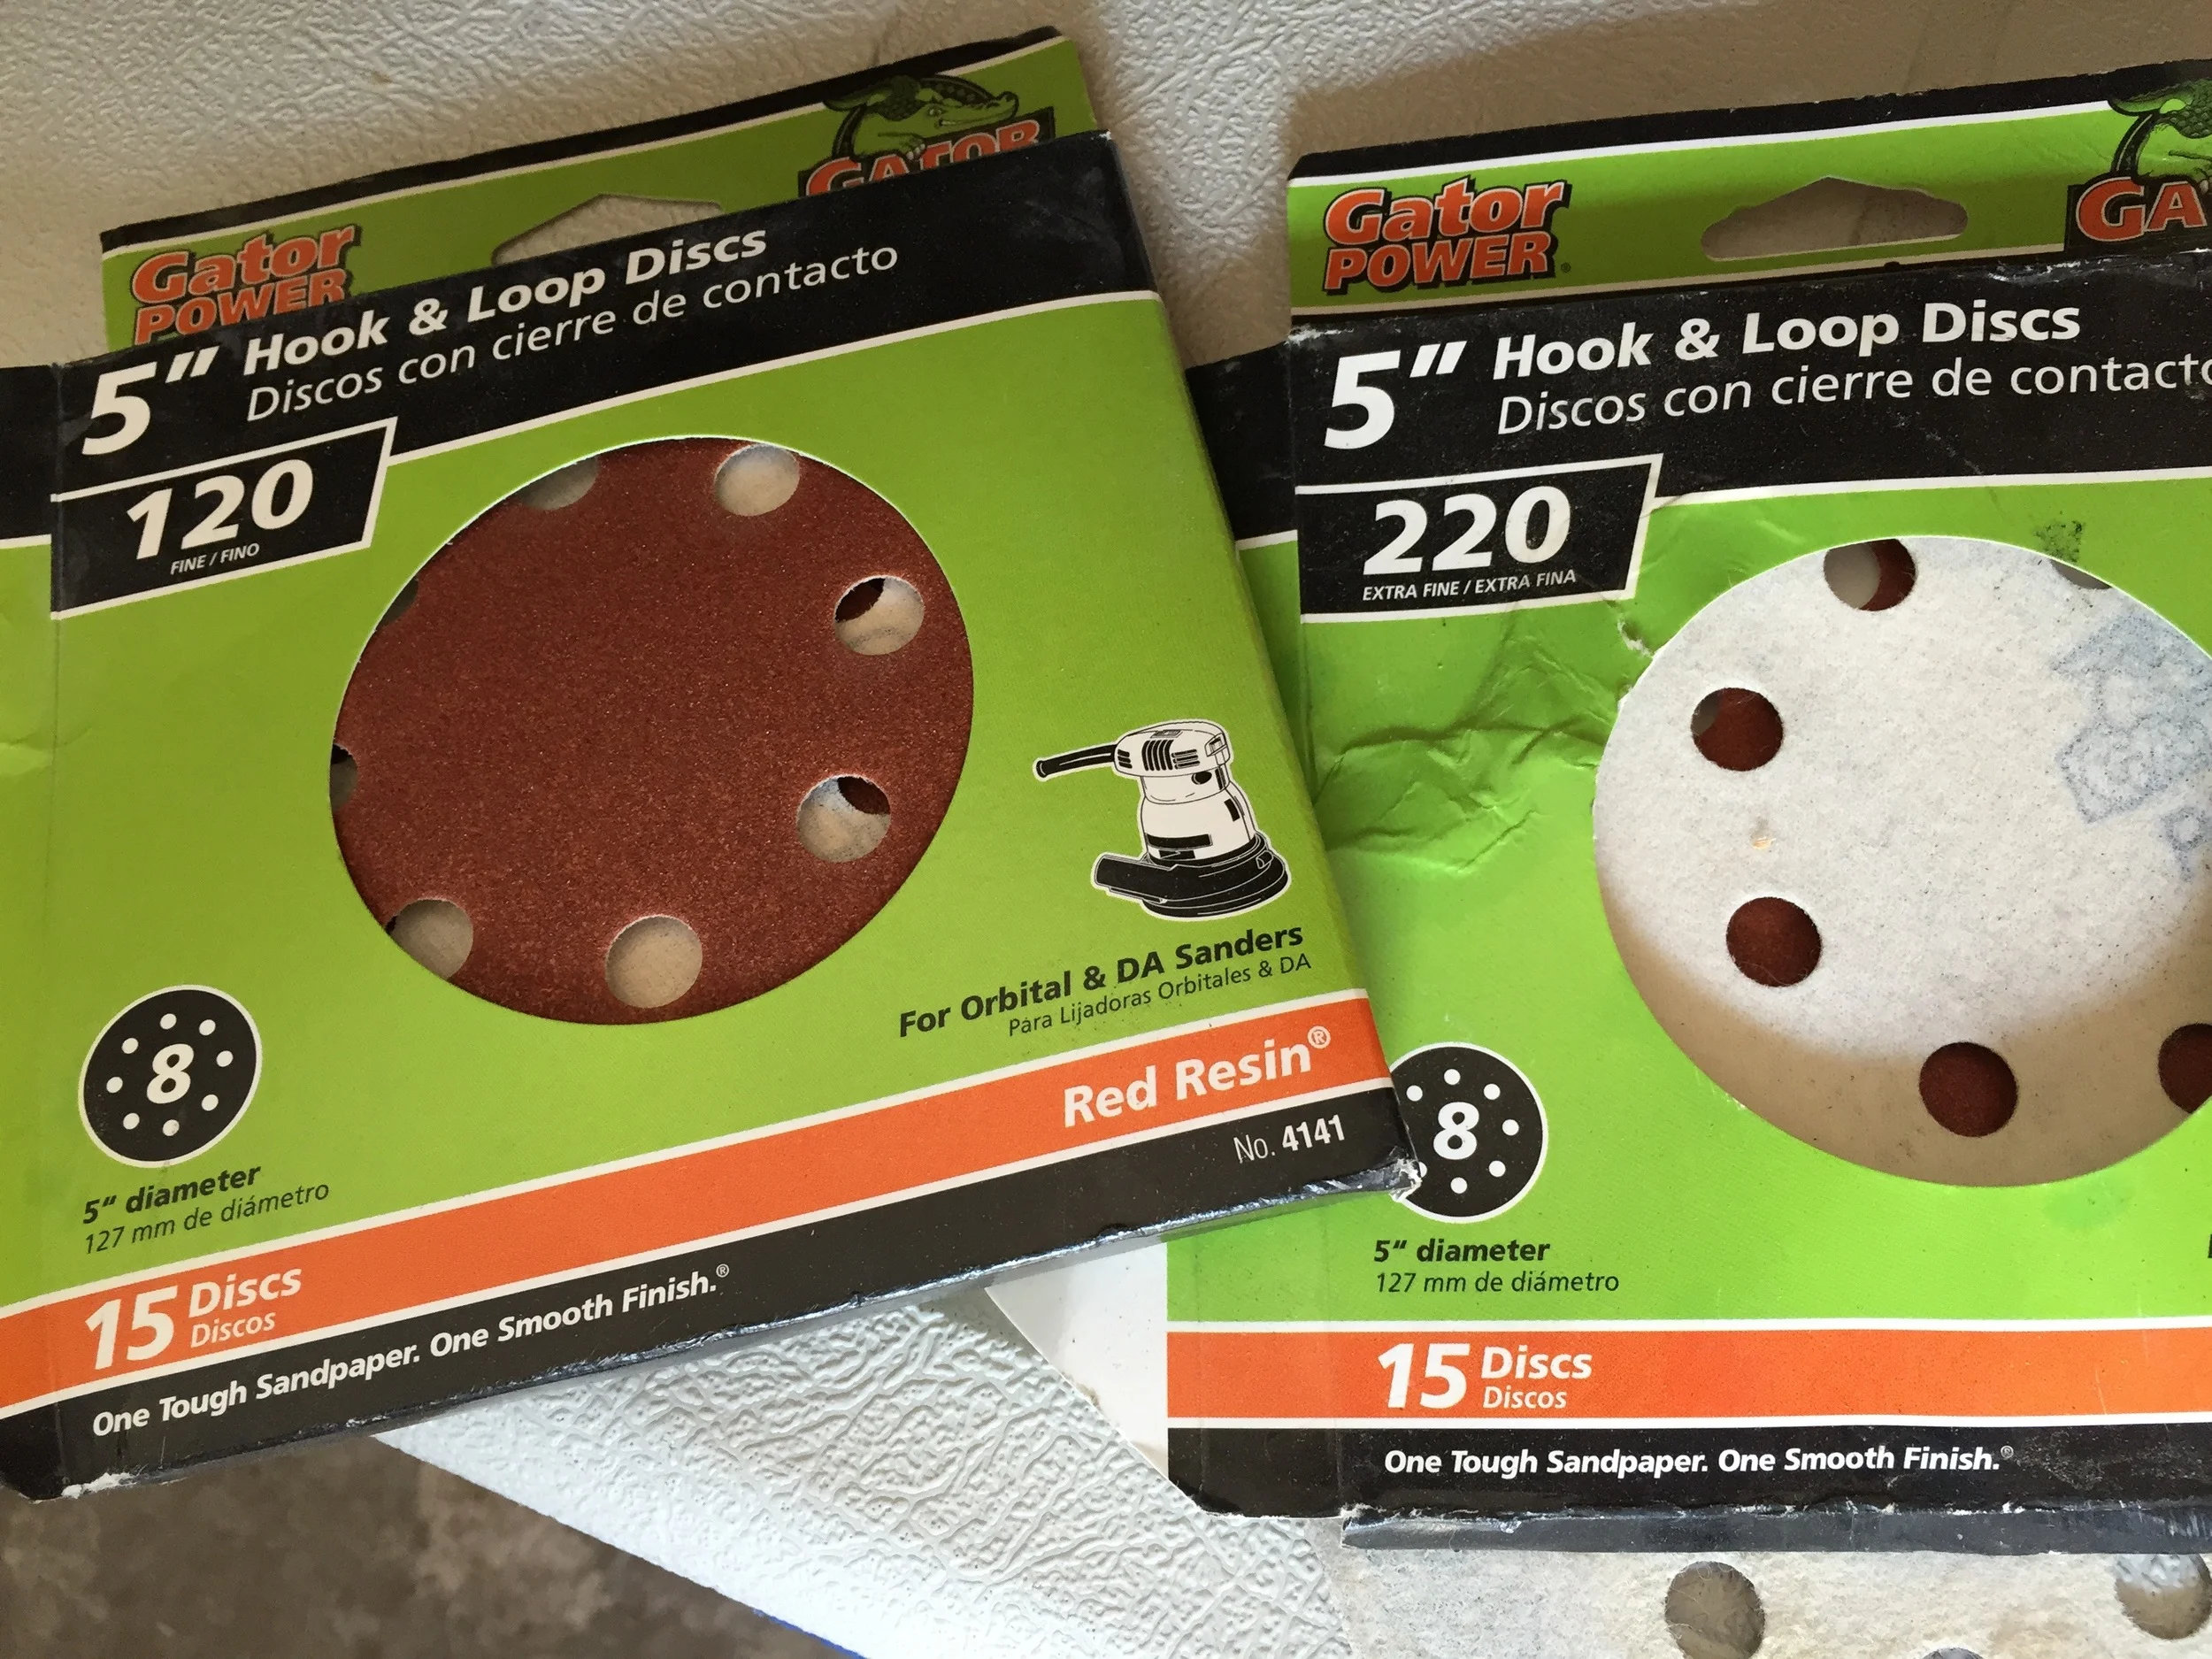
I sanded first using 120 grit paper and a rotary sander. I think the 120 does a great job at quickly removing varnish without wasting a lot of paper. I finished with a 220 grit to give it that smooth even feel.


Once you've got it all sanded, take a clean cloth and wipe down all surfaces. It removes the leftover sawdust and ensures that your paint goes on smoothly and without pieces embedded in it.

Now it's time to paint. I always do two coats. I think it looks more clean that way. If you like the way it looks after one coat, don't do another one. It's totally a preference thing at this point. Start with the first coat and apply until all covered. Allow the paint to dry completely. You should be able to run your hand across the piece and it should be dry to the touch. It shouldn't leave any residue on your hands either. Apply the second coat and then allow that to dry the same.
Next you'll want to seal it (this prevents nicks, stains, water, wood-rot and helps maintain the color of your paint) I use Annie Sloan Clear Wax to seal. This wax doesn't change the color of the paint. It simply seals and gives the matte finish a little glaze to it. If you're looking for a more vintage or distressed look - you might try the Annie Sloan Dark Wax. I apply the seal using AS's wax brush and then wax off with their wax pad. Think Karate Kid - "Wax On, Wax Off". Allow the wax to dry - the same as the paint. It should be soft to the touch and leave no residue on your hands.
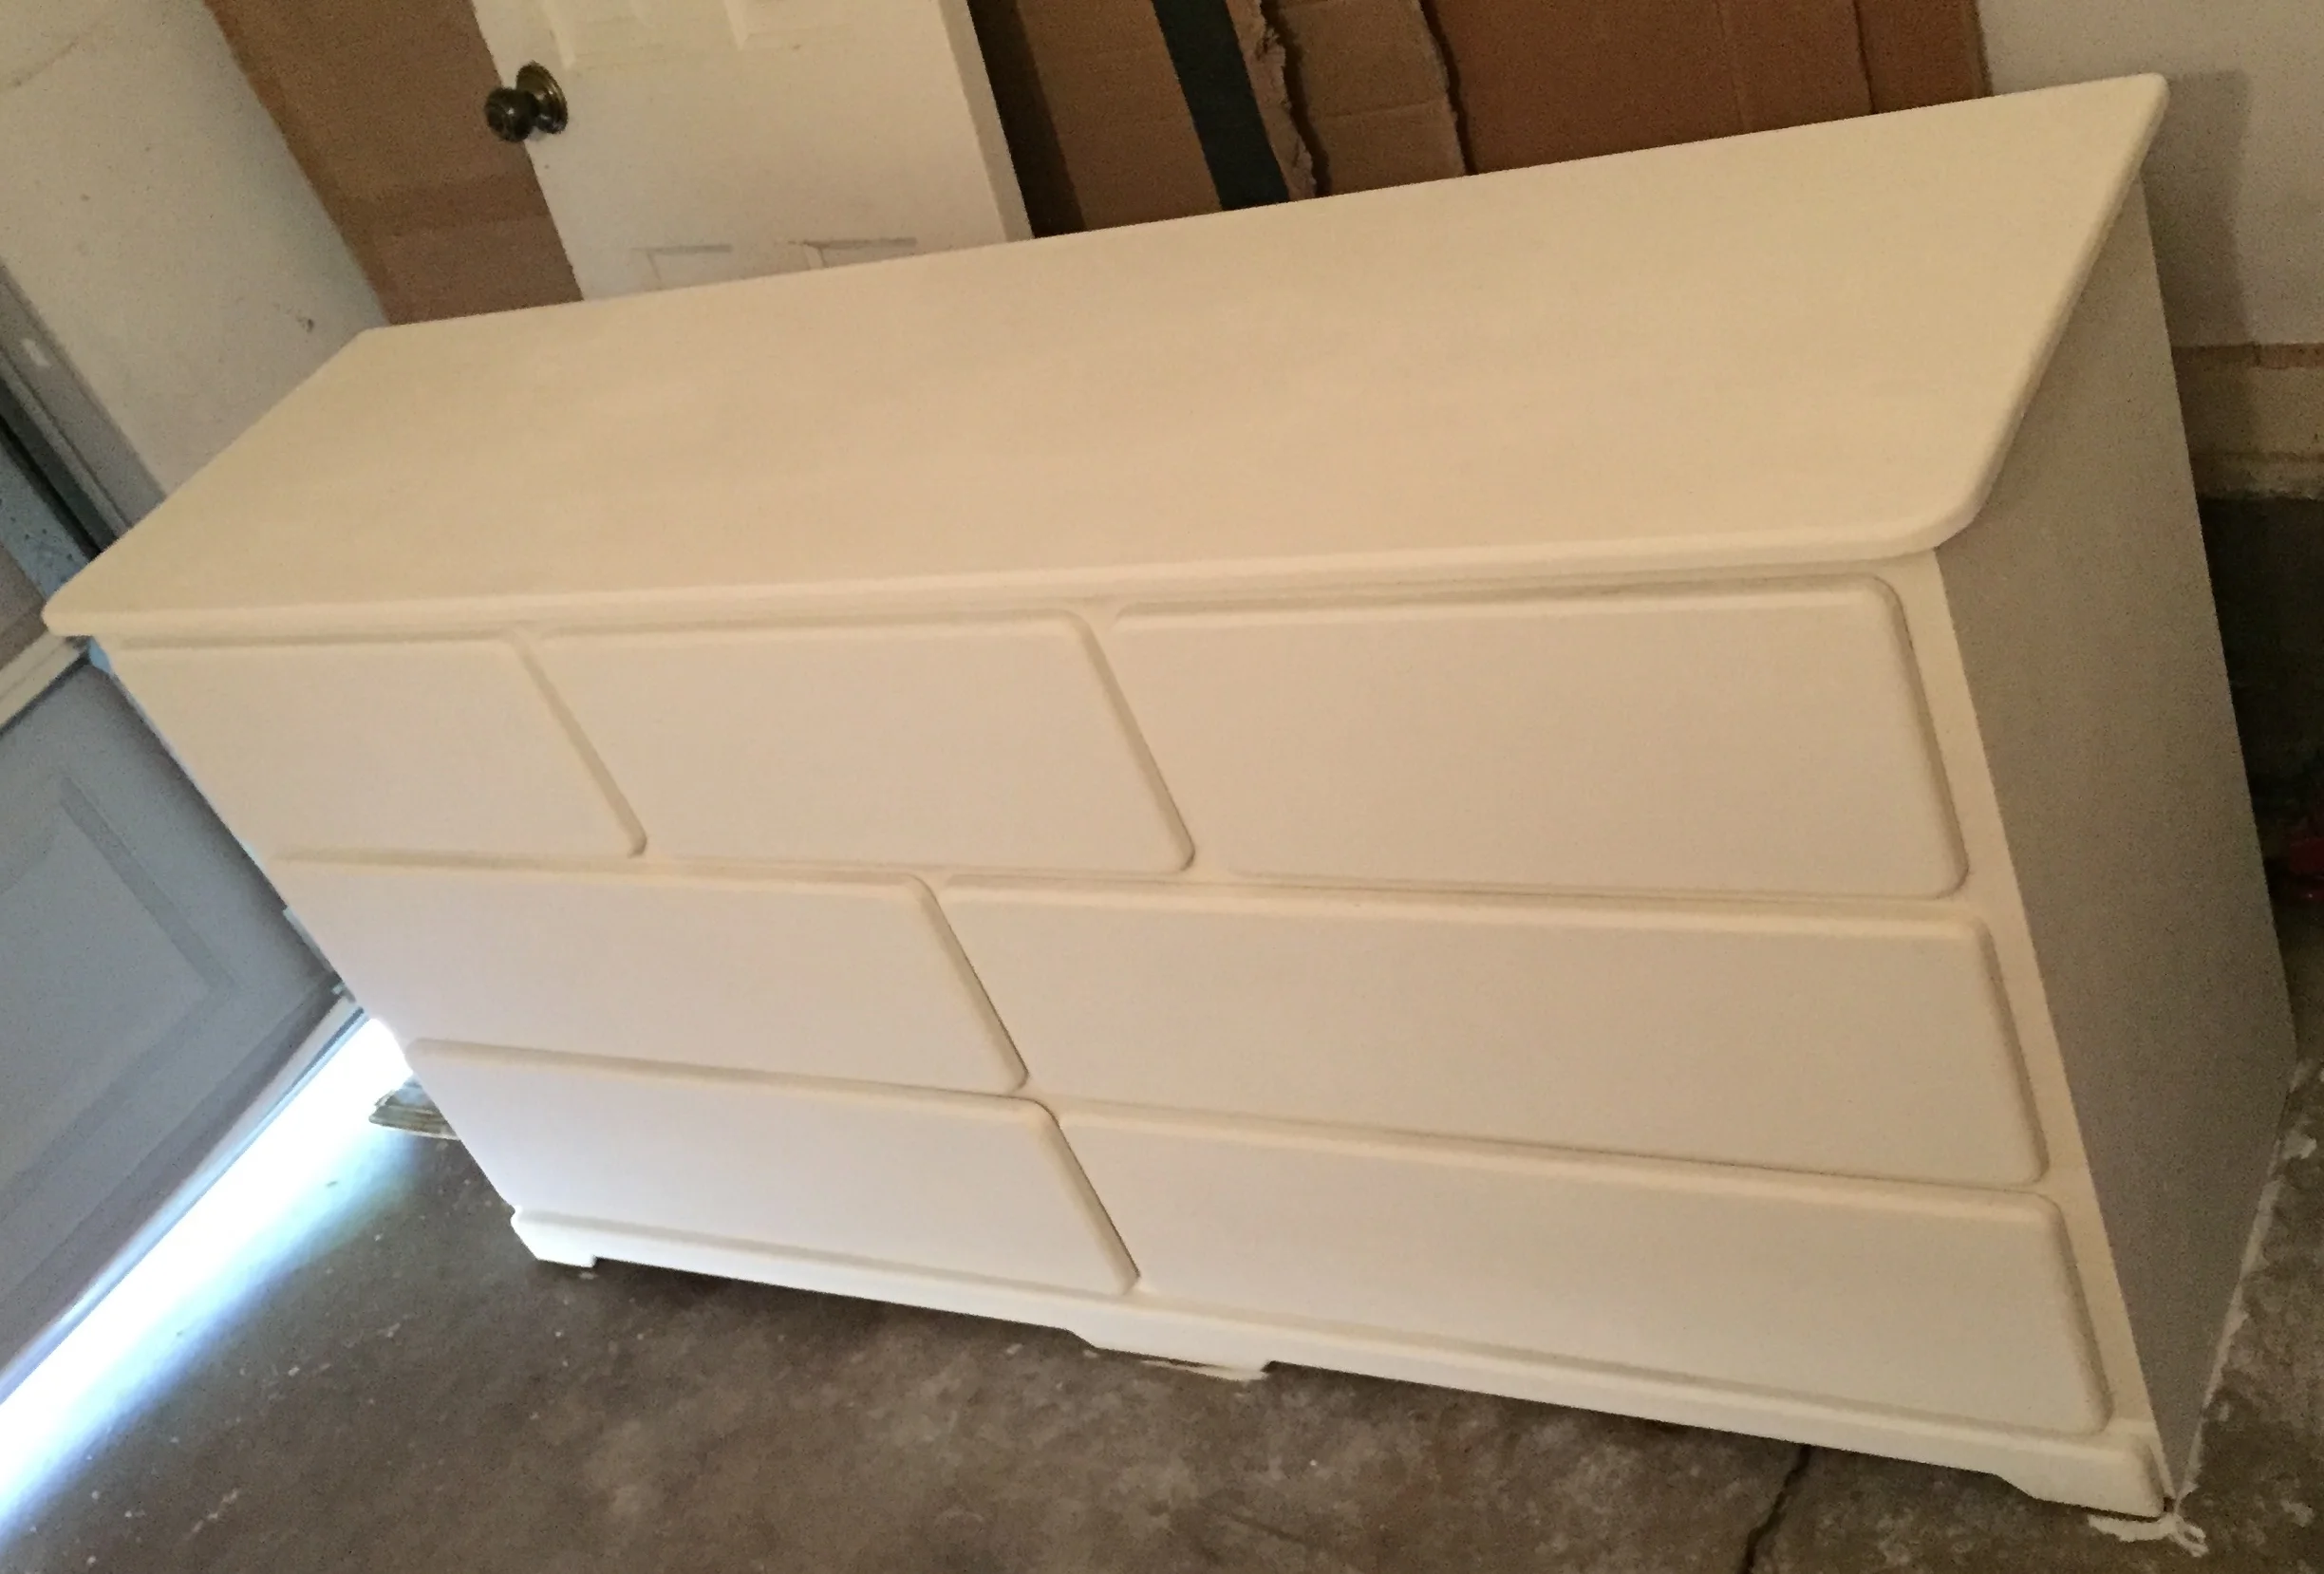
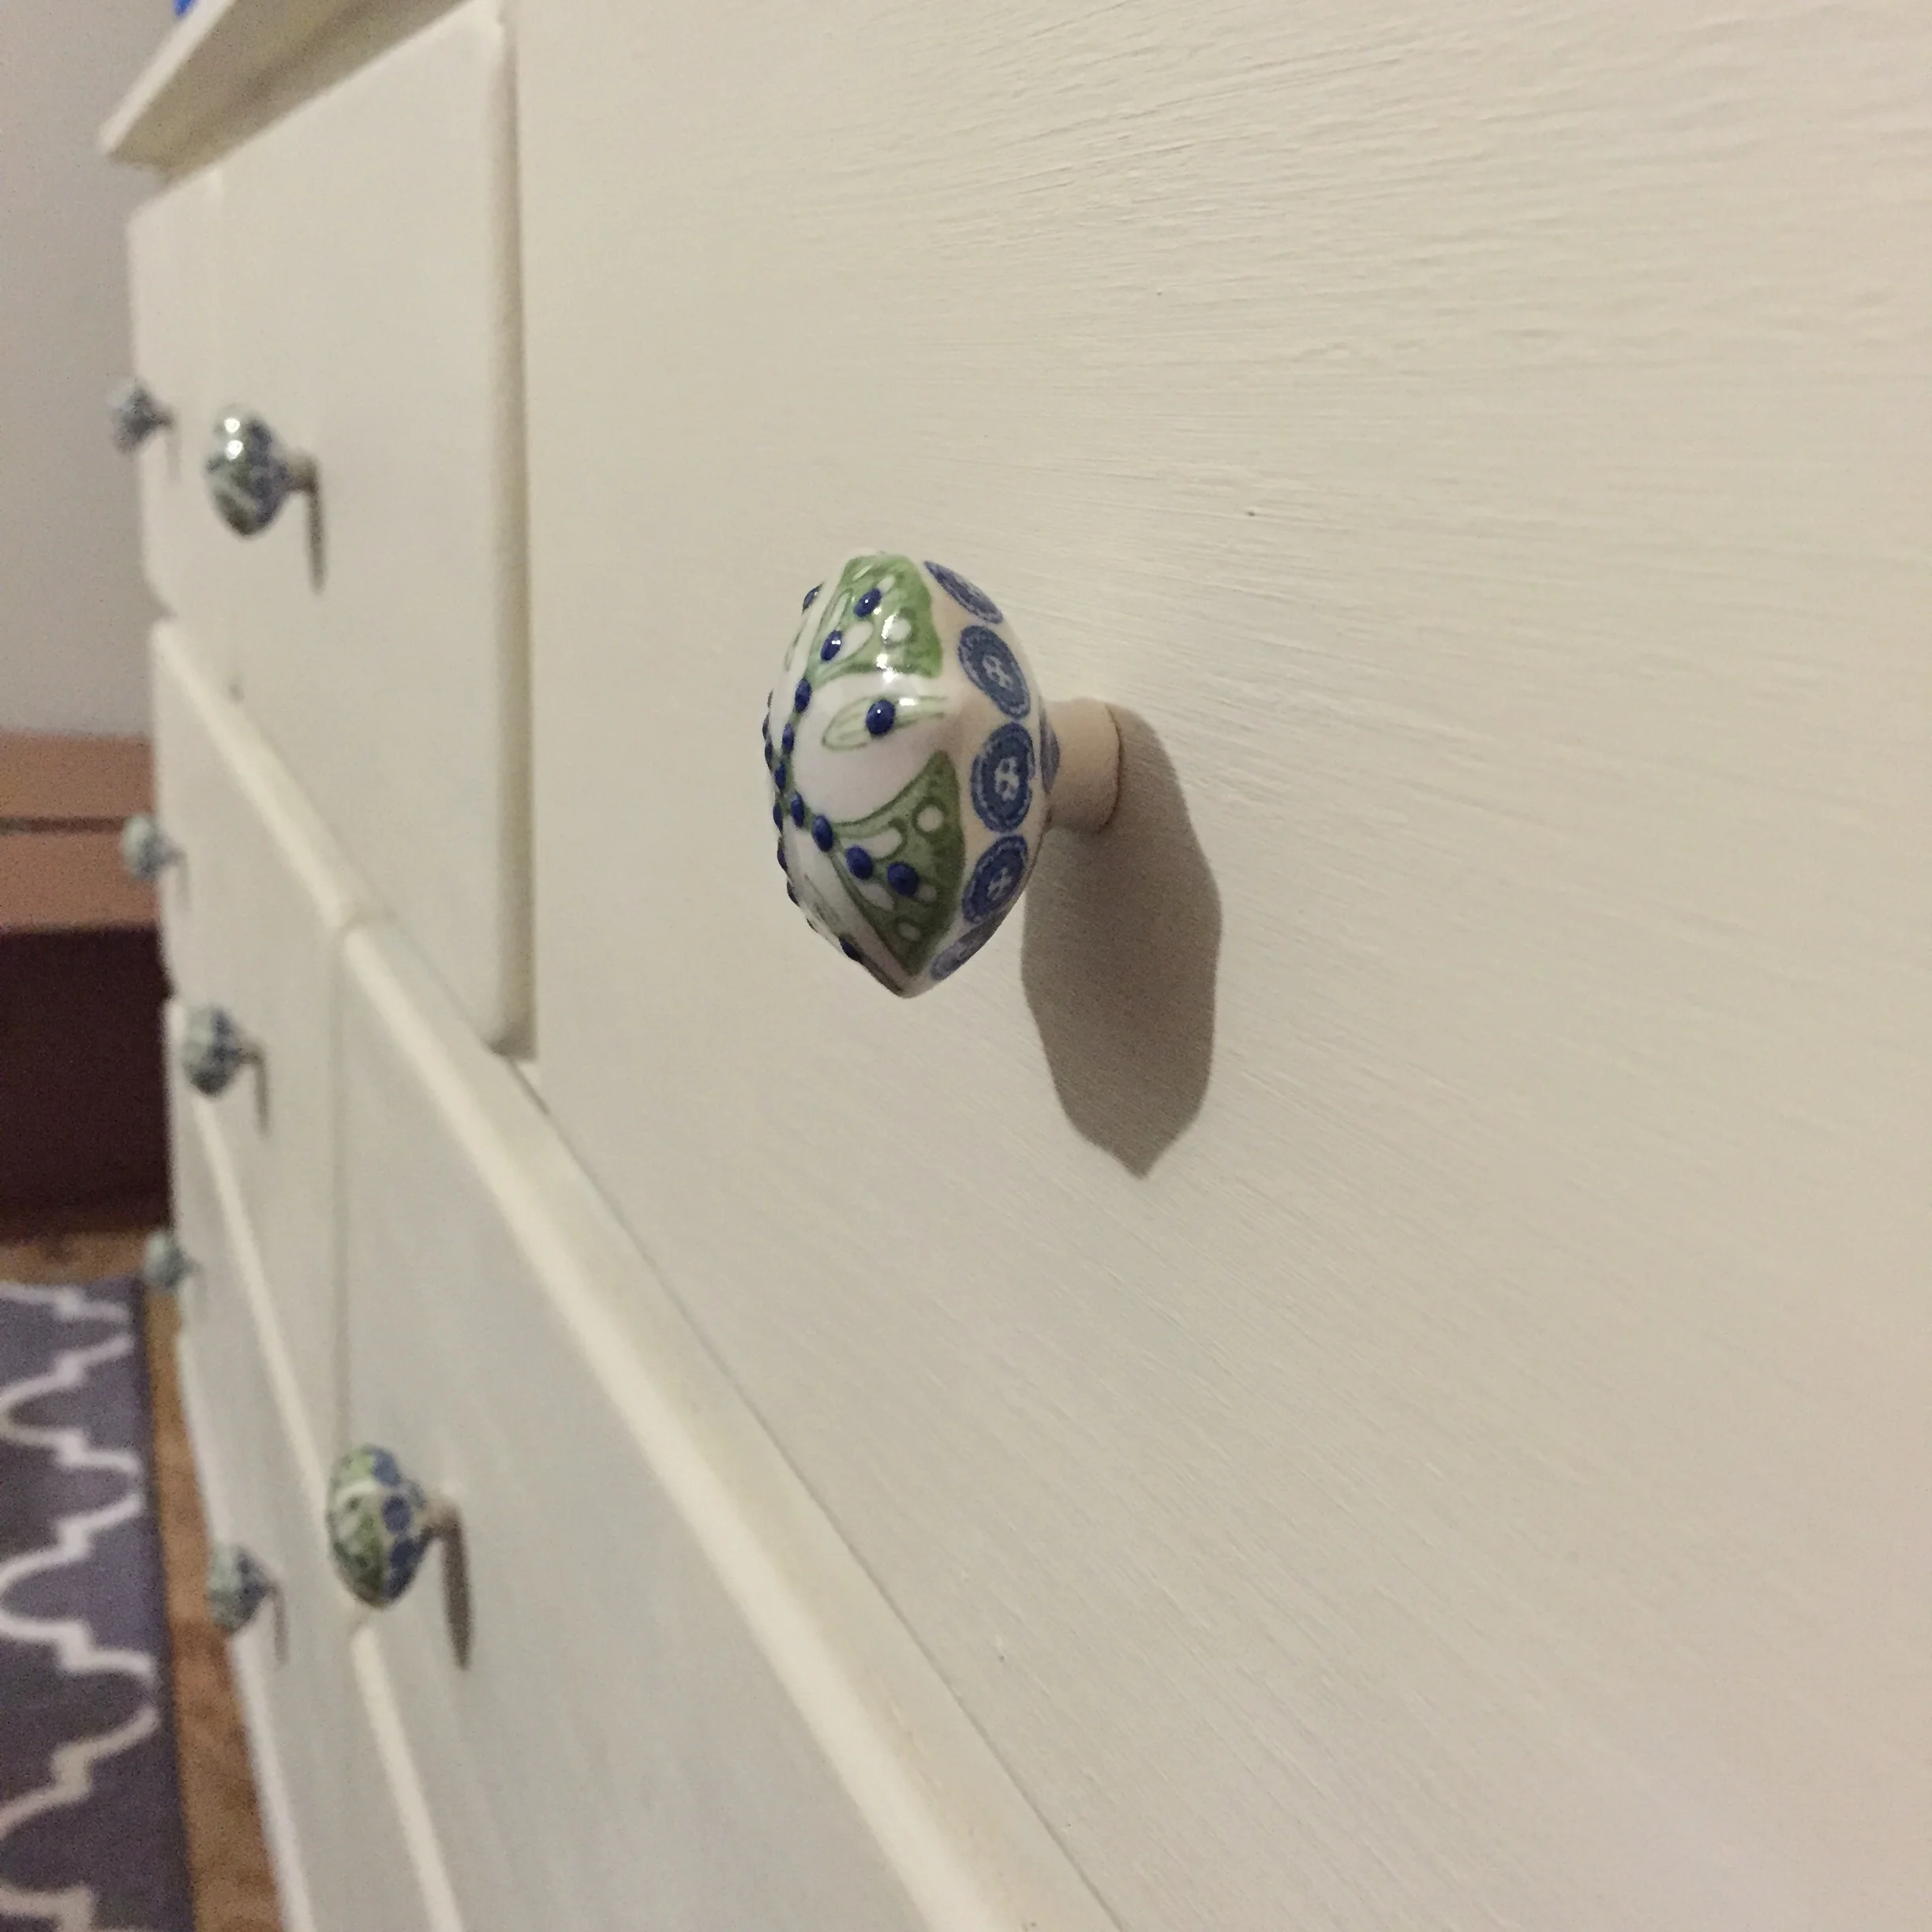
Now that it's all done, find some hardware (if you want) that you like to finish off the piece. I had these cute Anthro knobs on our side tables so I wanted to add them to our dresser too - for a matching finale. I predrilled the holes in each drawer and attached these FABULOUS knobs. I think it turned out pretty great looking.

Do you have a piece you'd like to "refresh"? If so, take some before and after pics and post them on here so we can see your work!
-- Lauren, The Chatham Collective